
Each fall I like to develop one or two new printable Advent Calendar sets for sale in my Etsy shop. This year I had so much fun putting together this festive and jolly set in kraft with red and white accents!
Advent calendars are a such fun family tradition at Christmas time. They serve to build up anticipation and excitement for the arrival of that special day — as if additional encouragement was needed!
As a child I loved those tacky grocery store calendars with the waxy chocolates inside. I must confess that I didn’t always wait for the next day before opening the door to reveal the next chocolatey surprise.
For those who want to take the Advent calendar tradition up a notch, printable boxes make a nice alternative. You can fill them all sorts of special treats and treasures. Dollar stores and party supply shops are a nice source for their contents.
This is the sixth set I’ve designed and it’s been my favourite to put together. Maybe it’s because of the variety of box sizes, maybe it’s because the little pops of red are so cheery, or maybe it’s because the baker’s twine gives such a homey feel to anything it adorns. Whatever the case, I thought I’d highlight the process and maybe inspire you to establish a new homemade tradition around your countdown to Christmas this year.

Materials needed include:
- Printable template ($5 instant download on Etsy)
- White cardstock (if printing at a shop, they will supply)
- A good pair of scissors
- A glue stick
- Baker’s twine
- A needle with a big eye
- Scoring tools are recommended (i.e. bone folder and ruler)

Before you print you’ll want to decide how many boxes of each size you will want. This set comes with five templates, as outlined above. If you want equal numbers of each, just print five copies of the document (5 x 5 = 25). If you need more or less of any given size, print the pages separately and indicate the desired quantities in the print queue.

Carefully cut your box template out from the cardstock.

Score the fold lines. If you don’t have a professional scoring tool (like this bone folder) you can try using any item with a fine, rounded tip that is not sharp enough to tear your paper. Some ideas include the dull tip of a butter knife, the head of a large needle, or a dried-out ball point pen, etc.

Tip: If your ruler doesn’t have a rubber back, add duct tape to the bottom to keep it from slipping around on your paper.

Pre-fold the lines you just scored, then flatten the box template.

Apply glue to the side tab.

Tuck the glued tab under the opposite side panel to form a box, then flatten and apply pressure for a few seconds until the glue adheres.

To form the base fold down the “U” tab.

Tuck the tips of the side tabs under the “U” tab.

Finally, tuck the last tab up under the “U”. No additional gluing is required.

Tuck the top panel in to form your box.

Now it’s time to add your tags! Cut them out from cardstock.
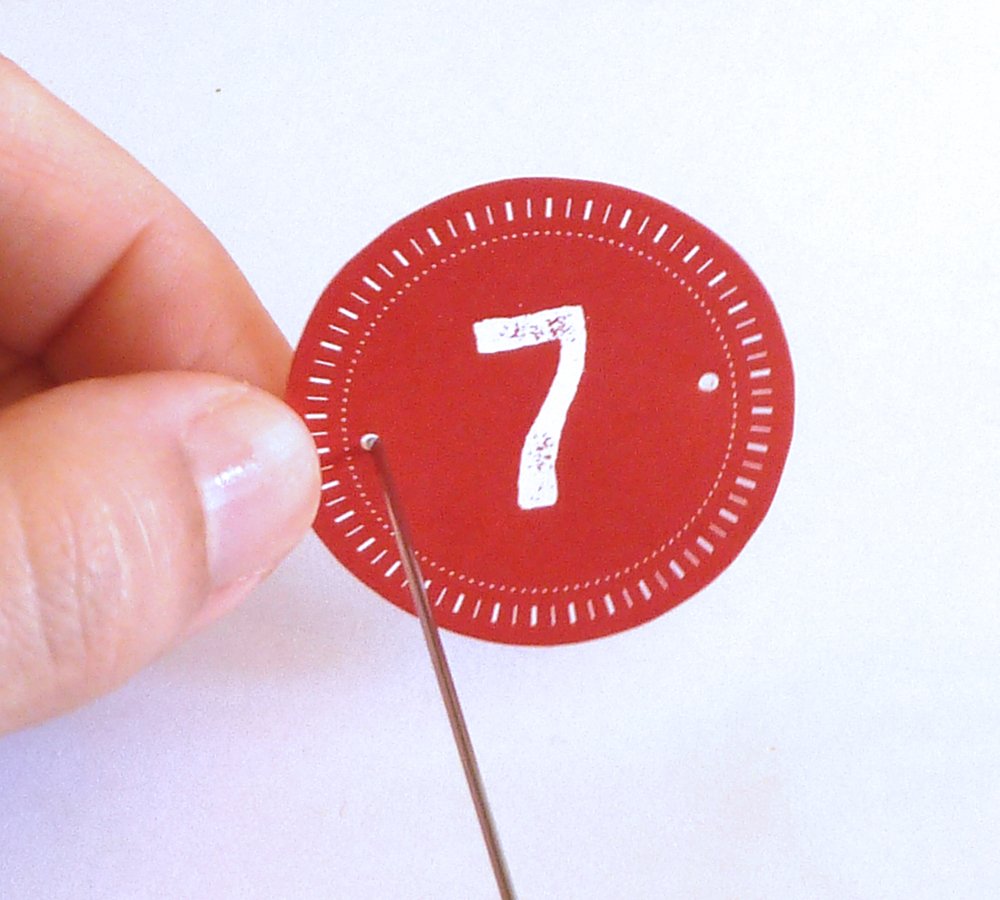
Poke guide holes in the two dots.

Measure and cut a length of baker’s twine. I like to have enough to wrap around the box three times. Be sure to include a long enough overlap to allow you to tie the ends at the back of the box.

Thread your needle and draw the baker’s twine through both holes in the tag, ensuring that it lay’s behind the number (i.e. draw from front to back, then back to front).

Lay your tag flat against the centre front of the box, then wrap the twine around and tie at the back.
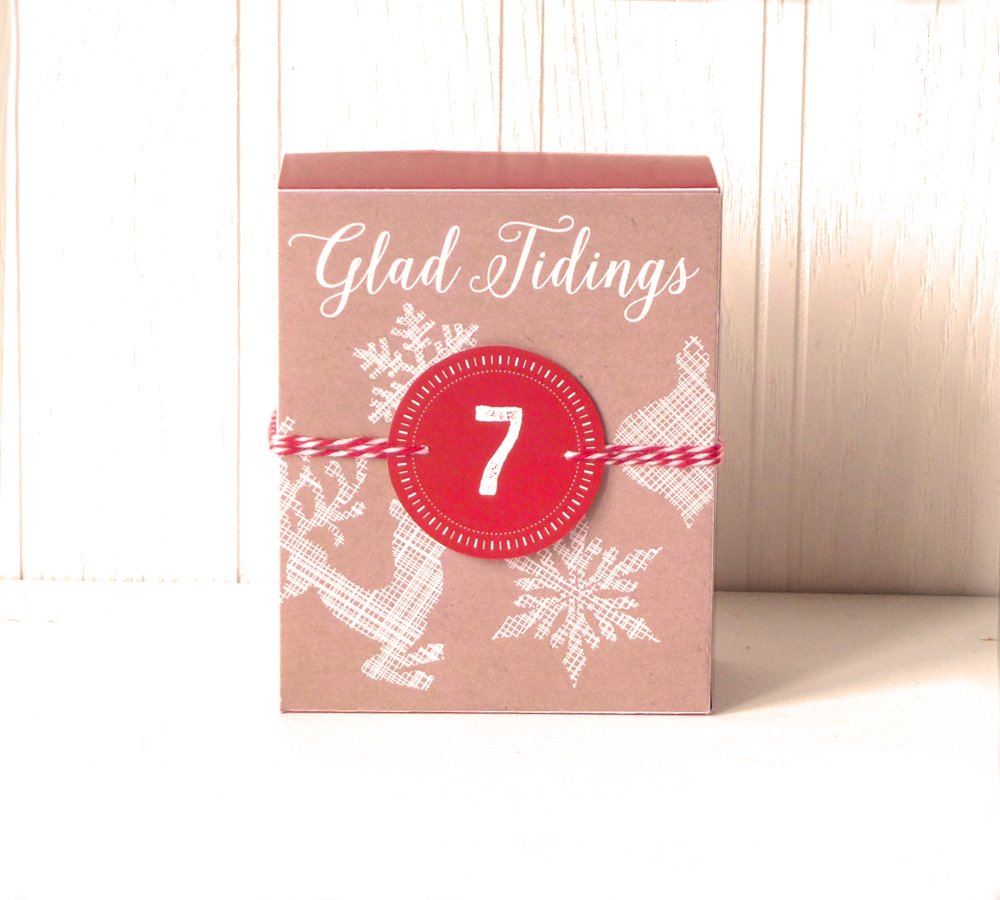
Your box is complete and ready to fill with fun little surprises!

Purchase and download the Advent calendar templates here.


